What US Carriers Actually Charge for International Roaming
T-Mobile's Magenta Max plan is the exception travelers most often cite. It includes data in 200+ countries without triggering a day-pass fee, which sounds like a genuine workaround — until you read the terms. The included allowance is 5 GB at reduced speeds. That throttle engages quickly once you're relying on Maps or streaming anything, and "unlimited" isn't really the accurate word for it.
Skift survey data from 2023 to 2024 puts this in context: 68% of US travelers rank high international data costs among their top travel frustrations. Travel eSIMs address that problem not by trimming the daily rate slightly but by replacing the per-day billing model entirely, with one flat purchase before you board, active for the full duration of your trip. Look up your destination on HelloRoam to compare an eSIM for international travel with what your carrier would charge for the same trip.
| Trip Profile | US Carrier Day Pass | Travel eSIM |
|---|---|---|
| 10 days / Europe | ~$100–$120 | ~$15–$35 |
| 14 days / Asia-Pacific | ~$120–$168 | ~$20–$45 |
| 7 days / Latin America | ~$70–$84 | ~$10–$25 |
Carrier totals calculated from published day-pass rates. eSIM ranges reflect current regional plan pricing across major providers. The 14-day low end reflects AT&T's Day Pass terms, which cap the charge at 10 daily fees per line per bill cycle.
The gap holds across every trip profile. A two-week run through Asia-Pacific costs nearly as much in carrier fees as a meaningful seat upgrade. An eSIM for the same itinerary runs a fraction of that total — no daily math, no surprise line item when you land.
Is Your Phone eSIM-Ready for International Travel?
Apple removed the physical SIM tray from every iPhone sold in the United States starting with iPhone 14 in September 2022. No slot, no physical card — eSIM is the only way to activate any carrier plan on roughly 140 million US iPhones from that release forward. If you own one of those models, you're already dependent on eSIM for your domestic service; a travel eSIM is simply the same technology pointed at a different network.
Support extends further back than most people expect. Every iPhone from the XS and XR onward — released fall 2018 — includes eSIM capability alongside the physical SIM slot. With iPhone 13 and later, dual eSIM lets you keep your US number active for calls and texts while routing all data traffic through a travel plan simultaneously.
Android eSIM support is widespread among flagship devices but uneven across the broader market. Google Pixel 3a and later, Samsung Galaxy S20 and later (including the Z Fold and Z Flip lines), and Motorola's Razr series all support eSIM. Budget and prepaid Android handsets — models sold through Boost, Cricket, or Metro, and most off-brand devices under $200 — frequently don't include it.
| Device | eSIM Status |
|---|---|
| iPhone 14, 15, 16 (US market) | eSIM-only — no physical SIM slot |
| iPhone XS / XR through iPhone 13 | eSIM + physical SIM (dual capable) |
| iPhone X and earlier | Not supported |
| Google Pixel 3a and later | Supported |
| Samsung Galaxy S20+, Z Fold / Z Flip | Supported |
| Motorola Razr series | Supported |
| Budget or prepaid Android | Verify before purchase |
One step that catches more travelers off guard than it should: regardless of model, your phone must be carrier-unlocked to install a third-party travel eSIM. On iPhone, the check takes about ten seconds — Settings → General → About → Carrier Lock. "No SIM restrictions" means you're clear. Android varies by manufacturer: Samsung and Pixel users can go to Settings → About Phone → SIM status, or dial *#06# to pull up device info. If you bought your phone through a carrier on a payment plan or prepaid deal, confirm the unlock status before purchasing any eSIM plan — a locked device will refuse the installation entirely.
Best International eSIM Plans for US Travelers in 2025
This guide covers what to compare when you choose an international eSIM, including our own HelloRoam plans. Our editorial policy explains how we compare our own plans with others. Many providers list coverage by country without naming the local network, and that network shapes your real-world speeds more than any coverage map does.
Network transparency is where providers differ most. Our plan pages name the local networks for each plan before checkout: our UK plans run on EE and Three, and depending on the plan, our Japan eSIM connects to KDDI/au and SoftBank, or to NTT docomo. Our regional plans cover several countries on one eSIM, so you don't need a new eSIM at each border.
The right choice depends on trip structure more than brand preference. Single-destination travel favors per-GB plans from larger catalogs; multi-country itineraries favor flat-rate regional plans that cover the full route under one activation.
Best eSIM plans for Europe trips
Regional eSIM plans are the best option for Europe trips, covering Schengen countries and the UK under one activation at $18–$30 for 10 GB / 10 days. The most common US itinerary — Paris to Rome to Barcelona with London added — spans two legally and technically separate coverage zones. A regional eSIM needs to include both explicitly, or you're sourcing two plans before departure.
Schengen covers 27 countries under a unified border agreement, meaning a regional eSIM handles France, Italy, Spain, Germany, and the Netherlands under one plan — no SIM swap at borders, no carrier store visit at CDG or FCO on arrival day. What it doesn't automatically include is the United Kingdom, which departed the EU in 2021. Not every plan marketed as "Europe" lists the UK as a covered country. Check for it by name before purchasing.
Match the plan type to your data use. A plan sold by the gigabyte favors travelers keeping consumption light — mostly navigation and messaging. An unlimited plan suits heavier use: sustained streaming, frequent video calls, or intensive navigation. Check the tethering rules too, because some plans restrict hotspot use, which matters if you're sharing a connection with a laptop.
HelloRoam's Europe plan covers all 27 EU countries plus the UK, Switzerland, Norway and Iceland on one eSIM, with hotspot sharing included at no extra cost.
Regional eSIMs consistently outperform the local-SIM-at-each-destination approach for multi-country trips. Buying SIMs on arrival means finding a carrier store, ID verification requirements in some countries, and tracking separate data balances across multiple apps — none of which you want to deal with before your first coffee in a new city.
Best multi-country and global plans for longer itineraries
Some global plans charge by the megabyte. That works for occasional email and is rough for anyone streaming, navigating with live maps, or tethering a laptop all day.
That per-MB structure is the core limitation for longer trips. At sustained 30-day usage, it compounds fast. Digital nomads and long-stay travelers should prioritize monthly-renewable plans or providers offering stackable top-ups rather than single-purchase expiring packs. Buying the same seven-day plan four times is neither efficient nor good value — you lose any unused data each time the pack expires.
Tethering is where global plans diverge most sharply. Some allow mobile hotspot without restriction. Others lock it behind a premium tier or block it outright. If you're working remotely or sharing a connection with a travel partner, verify hotspot policy before purchasing — a provider's FAQ is a lot easier to read from your couch than from a café in Amman.
Travelers routing through Gulf hub airports — Dubai, Doha, Riyadh — should confirm layover coverage explicitly. A regional "Asia-Pacific" plan doesn't automatically cover the Middle East, and a 12-hour connection there is effectively a stop worth covering.
For any itinerary spanning three or more regions: a true global plan with top-up capability beats stitching together regional eSIMs at each border.
How to Activate an International eSIM Before Your Flight
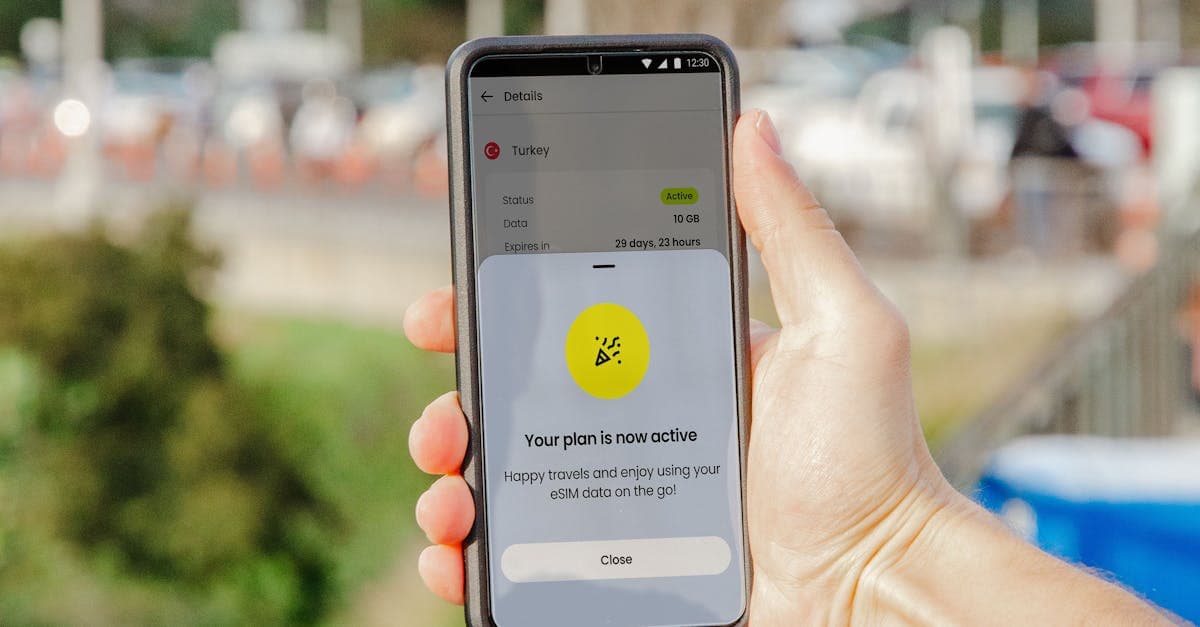
Purchase the eSIM a few days before departure. Most providers let you choose a future activation date or trigger the plan manually when you land — either way, the actual installation happens on your schedule, not in a rush at the gate.
Two installation methods exist. QR code scanning is the default: providers email you a code at purchase, which you scan directly in your phone's cellular settings. App-based install — used by many providers — pulls the eSIM profile automatically after you log in. Both work equally well in practice. The QR method just requires a second device or a printed code to complete the scan.
iPhone setup
Go to Settings > Cellular > Add eSIM > Use QR Code. The camera opens; scan the code, confirm the plan details, and the eSIM profile installs in under two minutes. Basic eSIM support requires iOS 12.1 or later. For clean dual-line management — running your US number and travel data simultaneously — iOS 16 or later is the practical minimum.
Android setup
Samsung: Settings > Connections > SIM Manager > Add eSIM, then scan the QR code or enter a confirmation code manually. Pixel: Settings > Network & Internet > SIMs > Add eSIM. The navigation path differs by manufacturer, but the underlying process is identical.
After installing, the most common mistake is assuming data flows automatically. It doesn't. Navigate back into your cellular settings, select the travel eSIM line, and enable Data Roaming. Without that toggle, the phone shows the eSIM as installed but passes nothing — which is indistinguishable from no signal at all until you check settings.
Do all of this at home, on Wi-Fi, before you pack. QR codes expire on some platforms. Provisioning downloads run several megabytes. A spotty airport connection mid-install creates errors that require a support ticket to untangle.
Running dual eSIMs to keep your US number active
iPhone 13 and later handles dual eSIM entirely in software — no physical SIM tray involved. You run your US carrier line alongside a travel data line simultaneously, with no hardware changes required. iPhone XS through iPhone 12 supports the same dual-line configuration but needs a physical nano-SIM in the tray for one of the two. Samsung Galaxy S21+ and Google Pixel 6 and later both support dual eSIM without a physical card as well.
The setup is direct. Assign your US carrier eSIM to "Primary" for calls and texts. Set the travel eSIM as the designated data line. The phone routes traffic automatically from there — incoming calls and SMS reach your US number as normal while data runs over the travel plan.
That includes two-factor authentication codes. Bank login alerts, brokerage verification texts, healthcare portal access — all arrive on your US number, uninterrupted. For travelers who rely on SMS-based 2FA, this isn't a hypothetical concern. The dual-eSIM setup handles it without any workarounds.
Wi-Fi calling on your US carrier line routes over the travel eSIM's data connection automatically. No additional configuration. iMessage and WhatsApp continue working the same way they do at home.
The biggest misconception first-time eSIM users carry into the airport: that a travel eSIM forces them to choose between their US number and affordable international data. It doesn't. Both lines stay active.
Do I Need to Unlock My Phone Before Buying a Travel eSIM?
Yes. Any travel eSIM from a third-party provider requires a carrier-unlocked device. A locked phone rejects the eSIM during provisioning — usually with a vague error that doesn't explain what actually went wrong.
Phones purchased directly from Apple.com, a retail Apple Store, or the Google Store ship unlocked by default. If you bought your iPhone or Pixel at full price through the manufacturer, you're set.
Phones bought through AT&T, Verizon, or T-Mobile on an installment plan may be locked for 30 to 60 days post-purchase. Terms vary by carrier and plan type — check your carrier's policy rather than assuming.
How to check your lock status
iPhone: Settings > General > About > Carrier Lock. "No SIM restrictions" means unlocked. A carrier name or "SIM locked" message means you'll need to request an unlock before any third-party eSIM will work.
Android: Dial *#06# to pull your IMEI, then run it through your carrier's online unlock status tool — AT&T, Verizon, and T-Mobile each have one. Alternatively, check Settings > About Phone > SIM status, though the exact path varies by manufacturer.
Unlock requests go through quickly when the device is fully paid off and the account is current. Call or use carrier chat support directly; in most cases the unlock processes within minutes, not days.
If your trip is days away and the device is still locked, the carrier's own international day plan is the cleanest fallback — expensive at the daily rate covered earlier in this guide, but it requires zero device changes and works immediately.
Can I Use a Travel eSIM and Still Receive Calls on My US Number?
A travel eSIM replaces your data plan, not your phone number. The US number stays fully active — incoming calls, texts, and SMS verification codes arrive exactly as they do at home, with no forwarding rules or special configuration needed.
With dual eSIM running, the phone manages two lines simultaneously. Your US carrier handles voice and texts; the travel eSIM carries all data traffic. Assigning each takes about 30 seconds in Settings > Cellular: set the US line to "Calls & Texts," the travel eSIM to "Mobile Data." Routing is automatic from there.
Outgoing calls to US numbers are cheapest placed over data. FaceTime Audio, WhatsApp, and Google Voice all route through the travel eSIM — no per-minute charges apply. On a two-week trip, that adds up faster than most travelers anticipate.
Business travelers should flag this specifically: banks and financial services that send SMS verification codes to your US number will reach you without interruption. If your primary authenticator app relies on SMS as a backup channel, it keeps working too. No reconfiguration required before departure.
Single-eSIM Android devices can't run both lines simultaneously. The fix is straightforward: enable Wi-Fi Calling through your US carrier before you leave home, or configure Google Voice call forwarding. Either option keeps the US number reachable while the travel eSIM manages data — functionally the same result, slightly more setup involved.
What Should I Do If My eSIM Won't Activate or Shows No Service?
Four root causes cover nearly all eSIM activation failures: carrier lock, an expired or already-redeemed QR code, wrong data line assignment, or missing APN settings. Identify which one applies before attempting any fix — the solution changes completely depending on the cause.
Carrier lock is behind roughly half of all reported failures. A locked phone will refuse to provision a third-party eSIM; the process stalls or returns a vague, unhelpful error message. Check unlock status first. On iPhone: Settings > General > About > SIM Lock field. On Android, the path varies by manufacturer, but the SIM or network settings menu is where to look.
If the phone is unlocked and the eSIM is installed, restart the device before doing anything else. Network provisioning sometimes completes fully only after a reboot — the eSIM may show as "installed" while still dormant, waiting for the device to cycle through its registration sequence.
After restarting, open Settings > Cellular on iPhone or SIM Manager on Android and manually designate the travel eSIM as the active data line. Phones default to the original carrier line automatically; they won't switch on their own.
Data still not passing? Check APN settings. Some providers require a manual entry — access point name and associated fields — found in the welcome email or their app. Without the correct APN, the eSIM registers on the network but passes zero data.
QR code expired or already redeemed: contact your provider's support and ask for a replacement code. If the problem is no service in a specific country, verify that destination is explicitly listed under your plan tier. A "regional" label doesn't guarantee every country in that region — check the coverage details, not just the plan name.
Written by
HelloRoam Team
The HelloRoam Team writes our guides on trip planning, visas and eSIMs. For every new or updated guide, we check each fact at its source. Sources include government, park and weather service pages. We note the date we read each one. A second review then checks every fact against its source before the guide goes live. If we cannot confirm a fact, we leave it out. We link those sources inside the guide, so you can check them.