Google Pixel 7 eSIM Compatible: Set Up
Your Pixel eSIM

Go to Settings > Network & Internet > SIMs on your Google Pixel to begin the eSIM installation.
Choose Install with QR Code if you have the code open on a separate device.
eSIM Manual code
1234 5678 9012
Choose Install Manually if you prefer to type in the activation code from your HelloRoam email.
Choose your installation method
A few things to know before you scan the QR code:
- •Open the QR code on a second device (your laptop or another phone) so you can scan it with your Pixel.
- •Keep your Wi-Fi connection stable throughout. Dropping connection mid-scan causes errors.
- •The QR code is single-use. Once scanned, it cannot be scanned again.
- •Do not delete the eSIM after installing it. It is tied to this device and cannot be moved or reused.
A few things to know before you begin the manual install:
- •Each manual activation code is single-use. Do not share it or enter it twice.
- •Stay on Wi-Fi throughout. Losing your connection mid-install can cause errors.
- •Once installed, this eSIM is locked to your Pixel. Removing it means you cannot use it again.
Enter Activation Code
1234 5678 9012
Get started in 3 easy steps
Our team is available 24/7 if you need help during setup.
- 01Open your email
Open your email on a second device and find the QR code HelloRoam sent you after purchase.
- 02Get your phone ready
Your Android phone must be unlocked, connected to Wi-Fi, and charged before you begin.
- 03Follow the steps
Work through each screen prompt to finish installing your eSIM profile in about 2 minutes.
Install eSIM via QR Code
Install eSIM via Activation Code
Settings
This phone is ready to activate a HelloRoam eSIM.
1. Settings
Open your phone Settings and go to Connections. Make sure you have a working internet connection before you continue.
Connections
2. SIM card Manager
Find the SIM card manager in your phone settings to view and manage your eSIM profiles.
Sim manager
Sim cards
eSIMs
Preferred SIMs
3. Add your eSIM
Tap the option to add a new eSIM to your device. You can scan a QR code or type in the code manually.
Add eSIM
Other ways to add SIMs
4. Installation Options
Choose how you want to install your eSIM: scan a QR code or enter the activation details by hand.
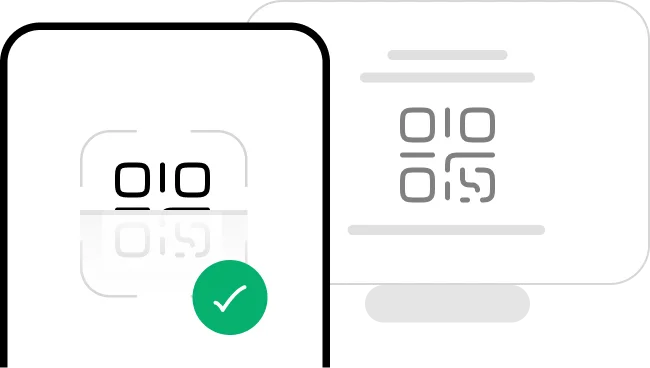
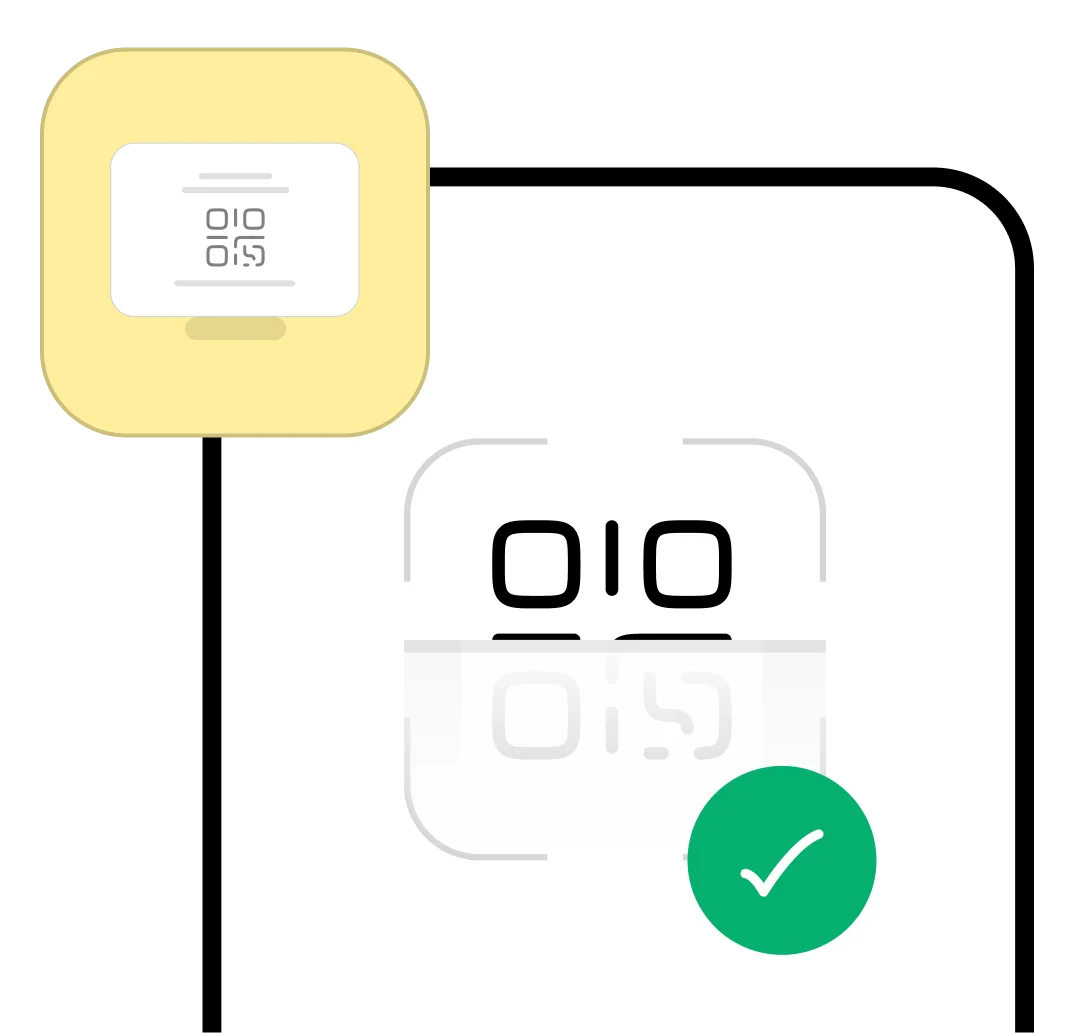
Scan the QR code from your provider

5. Scan the QR code
Point your camera at the QR code in your HelloRoam email to scan and load your eSIM profile automatically.
Add eSIM
Add HelloRoam eSIM?
This will connect your phone to the HelloRoam network.
6. Add mobile plan
Review the mobile plan details and tap Add mobile plan to finish installing your eSIM.
Sim manager
Sim cards
eSIMs
Preferred SIMs
7. Label and setup eSIM
Name your eSIM (for example, HelloRoam) and set it as your preferred mobile data line.
Install eSIM via QR Code
Install eSIM via Activation Code
Settings
This phone is ready to activate a HelloRoam eSIM.
1. Settings
Open your phone Settings and go to Connections. Make sure you have a working internet connection before you continue.
Connections
2. SIM card Manager
Find the SIM card manager in your phone settings to view and manage your eSIM profiles.
Sim manager
Sim cards
eSIMs
Preferred SIMs
3. Add your eSIM
Tap the option to add a new eSIM to your device. You can scan a QR code or type in the code manually.
Add eSIM
Other ways to add SIMs
4. Installation Options
Choose how you want to install your eSIM: scan a QR code or enter the activation details by hand.
Add using activation code
The code looks like this:
• https://operator.sm-dp.com
• LPA:1 $operator.com$ABCDE-12345
5. Enter the code
Copy the manual installation code from your HelloRoam email and paste it in. Tap Continue and wait a few seconds.
Add eSIM
Add HelloRoam eSIM?
This will connect your phone to the HelloRoam network.
6. Add mobile plan
Review the mobile plan details and tap Add mobile plan to finish installing your eSIM.
Sim manager
Sim cards
eSIMs
Preferred SIMs
7. Label and setup eSIM
Name your eSIM (for example, HelloRoam) and set it as your preferred mobile data line.
Activate your eSIM on Android

Before you start:
- •Wait until you land at your destination before activating your eSIM. eSIM activation is automatic once you land and turn Data Roaming on.
- •Switch on airplane mode, then reconnect to Wi-Fi so your home carrier does not charge you.
- •Save this guide as a PDF so you can follow along without an internet connection.
Open Settings, tap Mobile Data, and find your HelloRoam eSIM profile in the list.
Turn on your eSIM line and switch on Data Roaming so your phone connects when you land.
Your eSIM is live. You're connected and ready to use data in 185+ countries.
Done. Your plan is active. Use data right away with no extra charges.
Start using data right now. No extra charges, no surprises.

What is an eSIM? How it works in 2 minutes.
An eSIM is a digital SIM built into your phone. Scan a QR code to install a plan and you are ready to go. Step-by-step guide
Unlimited data
Up to 5G support
Data sharing

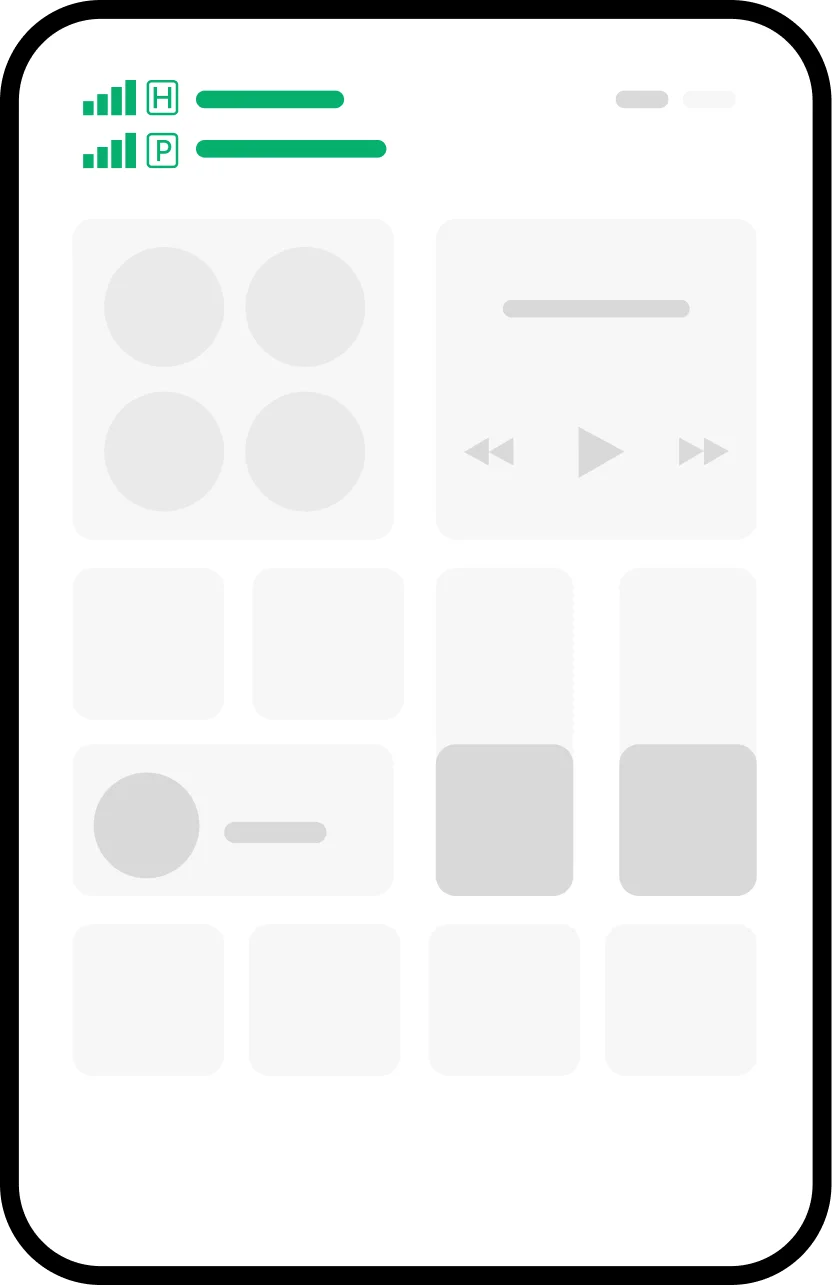
1.
Check your signal icon. At least one bar means your eSIM is connected and working.
2.
Go to Settings > Network & Internet > SIMs, tap HelloRoam, and confirm Roaming is switched on.
Google Pixel Tips Worth Knowing
- eSIM Transfer:When setting up a new Pixel, you can transfer your HelloRoam eSIM wirelessly during the device setup flow. Note: a HelloRoam eSIM is tied to your original device and is not transferable once installed outside of this setup flow.
- Dual eSIM (Pixel 9):Pixel 9, 9 Pro, and 9 Pro XL run two active eSIMs at the same time. Keep your Indian number active on Jio or Airtel while using a HelloRoam travel data plan in Dubai or Singapore.
- Fast Setup:Stock Android on Pixel has the fewest setup steps of any Android device. Most travellers are connected in under 2 minutes.
- Android 15 Users:On Android 15, the SIM path changed to Settings > Network & Internet > Internet > tap the + icon next to SIMs.
FAQs
Google Pixel 7 is eSIM compatible, along with every Pixel model from Pixel 3 onward. The full list includes Pixel 3, 3 XL, 3a, 3a XL, 4, 4 XL, 4a, 4a 5G, 5, 5a 5G, 6, 6 Pro, 6a, 7, 7 Pro, 7a, 8, 8 Pro, 8a, 9, 9 Pro, 9 Pro XL, and Pixel Fold. You need Android 9.0 (Pie) or later. The Pixel 10 is eSIM-only with no physical SIM card slot, which makes it a strong choice for frequent Indian international travellers.
The eSIM setting on Google Pixel 7 and most Pixel models is at Settings > Network & Internet > SIMs > Add SIM. On Android 15 (Pixel 9 series), go to Settings > Network & Internet > Internet, then tap the plus icon next to SIMs. If you cannot find it, type SIM in the Settings search bar.
HelloRoam eSIM installation on Google Pixel without a QR code uses the manual entry option. Go to Settings > Network & Internet > SIMs > Add SIM and choose to enter the activation code manually. Type in the SM-DP+ address and activation code from your HelloRoam email. The exact steps vary slightly by Android version, but the manual option is available on all supported Pixel models.
Google Pixel 9, 9 Pro, and 9 Pro XL support dual eSIM, so two eSIM profiles run at the same time with no physical SIM card needed. This is useful for Indian business travellers who need to keep their Jio or Airtel number active while using a HelloRoam data plan in Dubai, London, or New York. Pixel 8, 7, and 6 series support one eSIM plus one physical SIM. Manage SIMs at Settings > Network & Internet > SIMs.
Google Pixel phones support wireless eSIM transfer during new device setup starting from Pixel 7. Follow the on-screen prompt when setting up your new Pixel to move the profile from your old device. HelloRoam eSIMs are tied to the original device and are not transferable once installed. If wireless transfer does not work, contact HelloRoam support and the team issues a new QR code within 2 hours on average.
You check eSIM support on your Pixel by opening Settings > Network & Internet > Mobile network and looking for an eSIM or SIM option. The Pixel 9 supports eSIM on all major carriers. You can also search your specific Pixel model number on the Google support site to confirm compatibility before purchasing a HelloRoam plan.
Popular eSIM Destinations
We are here whenever you need us.