Google Pixel 7 Kompatibel eSIM: Pasang
eSIM Pixel Anda

Buka Pengaturan > Jaringan & Internet > SIM di Google Pixel Anda untuk memulai instalasi eSIM.
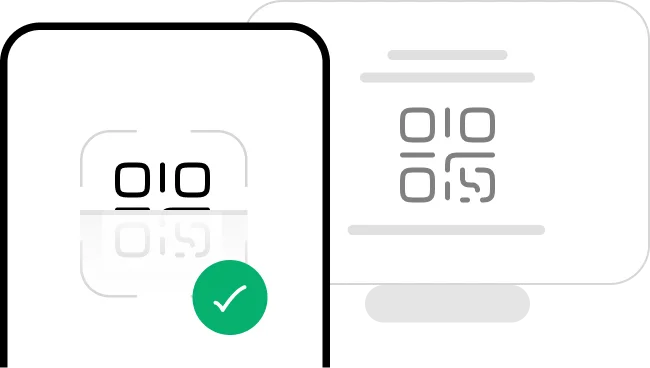
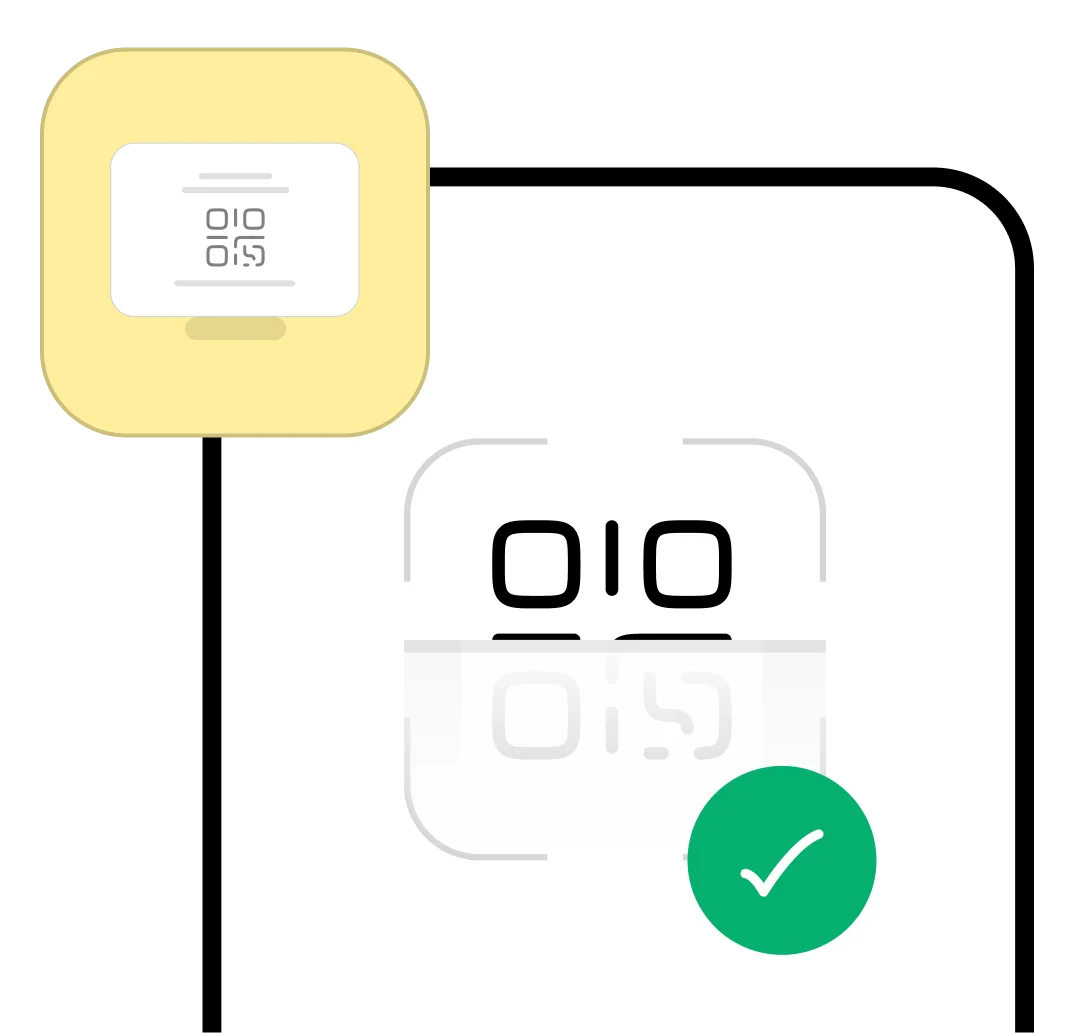
Pilih Pasang dengan Kode QR jika kode sudah terbuka di perangkat lain.
eSIM Manual code
1234 5678 9012
Pilih Pasang Secara Manual jika Anda lebih suka mengetik kode aktivasi dari email.
Pilih metode instalasi Anda
Beberapa hal yang perlu diketahui sebelum scan kode QR:
- •Buka kode QR di perangkat kedua (laptop atau ponsel lain) agar Anda bisa scan dengan Pixel.
- •Jaga koneksi Wi-Fi tetap stabil sepanjang waktu. Koneksi terputus di tengah scan menyebabkan error.
- •Kode QR hanya bisa digunakan sekali. Setelah di-scan, tidak bisa di-scan lagi.
- •Jangan hapus eSIM setelah dipasang. eSIM terikat ke perangkat ini dan tidak bisa dipindahkan atau digunakan ulang.
Beberapa hal yang perlu diketahui sebelum memulai instalasi manual:
- •Setiap kode aktivasi manual hanya bisa digunakan sekali. Jangan dibagikan atau dimasukkan dua kali.
- •Tetap sambungkan ke Wi-Fi sepanjang waktu. Kehilangan koneksi di tengah instalasi bisa menyebabkan error.
- •Setelah dipasang, eSIM ini terkunci ke Pixel Anda. Menghapusnya berarti tidak bisa digunakan lagi.
Enter Activation Code
1234 5678 9012
Get started in 3 easy steps
Our team is available 24/7 if you need help during setup.
- 01Open your email
Open your email on a second device and find the QR code HelloRoam sent you after purchase.
- 02Get your phone ready
Your Android phone must be unlocked, connected to Wi-Fi, and charged before you begin.
- 03Follow the steps
Work through each screen prompt to finish installing your eSIM profile in about 2 minutes.
Install eSIM via QR Code
Install eSIM via Activation Code
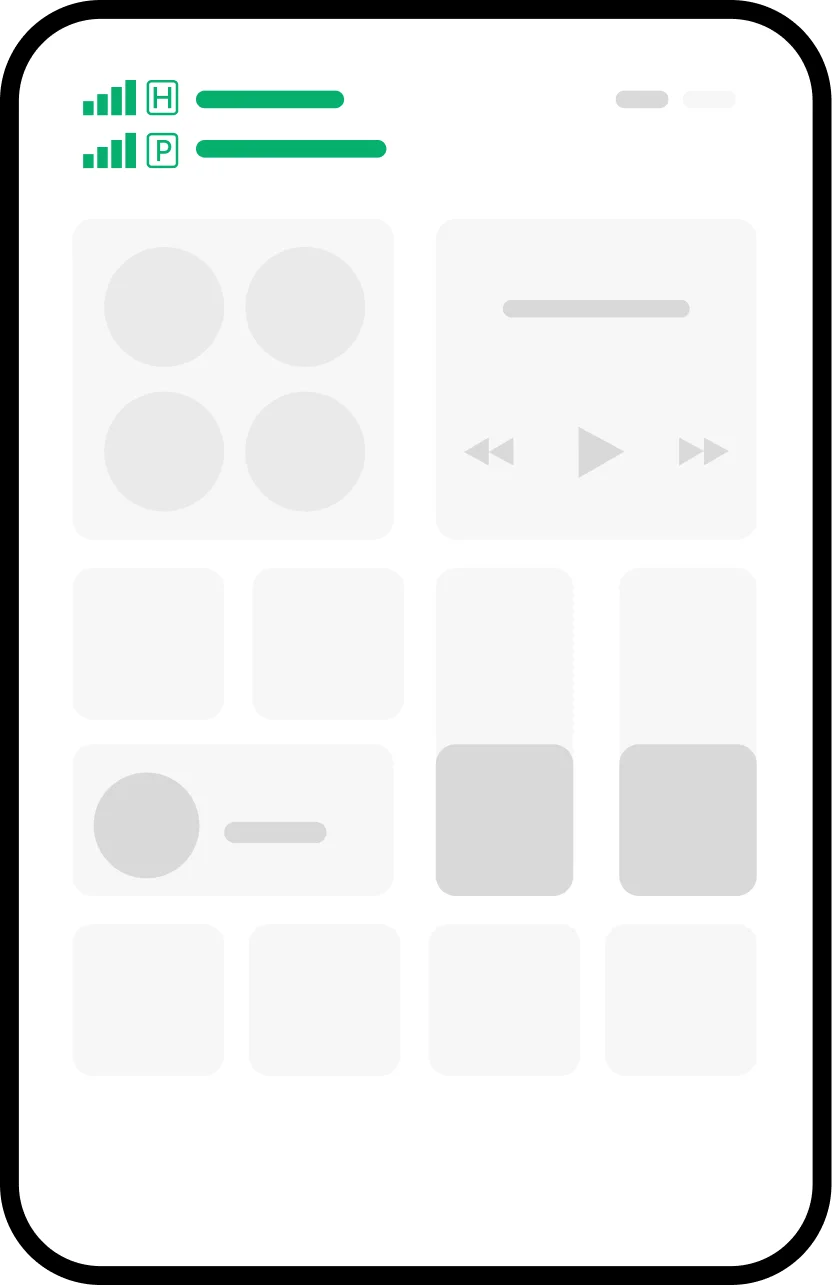
Settings
This phone is ready to activate a HelloRoam eSIM.
1. Settings
Open your phone Settings and go to Connections. Make sure you have a working internet connection before you continue.
Connections
2. SIM card Manager
Find the SIM card manager in your phone settings to view and manage your eSIM profiles.
Sim manager
Sim cards
eSIMs
Preferred SIMs
3. Add your eSIM
Tap the option to add a new eSIM to your device. You can scan a QR code or type in the code manually.
Add eSIM
Other ways to add SIMs
4. Installation Options
Choose how you want to install your eSIM: scan a QR code or enter the activation details by hand.
Scan the QR code from your provider

5. Scan the QR code
Point your camera at the QR code in your HelloRoam email to scan and load your eSIM profile automatically.
Add eSIM
Add HelloRoam eSIM?
This will connect your phone to the HelloRoam network.
6. Add mobile plan
Review the mobile plan details and tap Add mobile plan to finish installing your eSIM.
Sim manager
Sim cards
eSIMs
Preferred SIMs
7. Label and setup eSIM
Name your eSIM (for example, HelloRoam) and set it as your preferred mobile data line.
Install eSIM via QR Code
Install eSIM via Activation Code
Settings
This phone is ready to activate a HelloRoam eSIM.
1. Settings
Open your phone Settings and go to Connections. Make sure you have a working internet connection before you continue.
Connections
2. SIM card Manager
Find the SIM card manager in your phone settings to view and manage your eSIM profiles.
Sim manager
Sim cards
eSIMs
Preferred SIMs
3. Add your eSIM
Tap the option to add a new eSIM to your device. You can scan a QR code or type in the code manually.
Add eSIM
Other ways to add SIMs
4. Installation Options
Choose how you want to install your eSIM: scan a QR code or enter the activation details by hand.
Add using activation code
The code looks like this:
• https://operator.sm-dp.com
• LPA:1 $operator.com$ABCDE-12345
5. Enter the code
Copy the manual installation code from your HelloRoam email and paste it in. Tap Continue and wait a few seconds.
Add eSIM
Add HelloRoam eSIM?
This will connect your phone to the HelloRoam network.
6. Add mobile plan
Review the mobile plan details and tap Add mobile plan to finish installing your eSIM.
Sim manager
Sim cards
eSIMs
Preferred SIMs
7. Label and setup eSIM
Name your eSIM (for example, HelloRoam) and set it as your preferred mobile data line.
Activate your eSIM on Android
Before you start:
- •Wait until you land at your destination before activating your eSIM. eSIM activation is automatic once you land and turn Data Roaming on.
- •Switch on airplane mode, then reconnect to Wi-Fi so your home carrier does not charge you.
- •Save this guide as a PDF so you can follow along without an internet connection.
Open Settings, tap Mobile Data, and find your HelloRoam eSIM profile in the list.
Turn on your eSIM line and switch on Data Roaming so your phone connects when you land.
Your eSIM is live. You're connected and ready to use data in 185+ countries.
Done. Your plan is active. Use data right away with no extra charges.
Start using data right now. No extra charges, no surprises.

Apa itu eSIM? Cara kerjanya dalam 2 menit.
eSIM adalah SIM digital yang tertanam di ponsel Anda. Scan kode QR untuk memasang paket dan Anda siap berangkat. panduan
Data tanpa batas
Dukungan hingga 5G
Berbagi data

1.
Check your signal icon. At least one bar means your eSIM is connected and working.
2.
Go to Settings > Network & Internet > SIMs, tap HelloRoam, and confirm Roaming is switched on.
Tips Google Pixel yang Perlu Diketahui
- Transfer eSIM:Saat menyiapkan Pixel baru, Anda bisa memindahkan eSIM HelloRoam secara nirkabel selama alur pengaturan perangkat. Catatan: eSIM HelloRoam terikat ke perangkat asli dan tidak bisa dipindahkan setelah dipasang di luar alur pengaturan ini.
- Dual eSIM (Pixel 9):Pixel 9, 9 Pro, dan 9 Pro XL menjalankan dua eSIM aktif bersamaan. Tetap gunakan nomor Indonesia dan paket data perjalanan lokal di saat yang sama.
- Pengaturan Cepat:Android bawaan di Pixel memiliki langkah pengaturan paling sedikit dibanding perangkat Android mana pun. Sebagian besar pelancong terhubung dalam waktu kurang dari 2 menit.
- Pengguna Android 15:Di Android 15, jalur SIM berubah menjadi Pengaturan > Jaringan & Internet > Internet > ketuk ikon + di sebelah SIM.
FAQs
Google Pixel 7 kompatibel eSIM: ya, bersama semua Pixel dari Pixel 3 ke atas. Daftar lengkapnya mencakup Pixel 3, 3 XL, 3a, 3a XL, 4, 4 XL, 4a, 4a 5G, 5, 5a 5G, 6, 6 Pro, 6a, 7, 7 Pro, 7a, 8, 8 Pro, 8a, 9, 9 Pro, 9 Pro XL, dan Pixel Fold. Anda butuh Android 9.0 (Pie) atau lebih baru. Pixel 10 hanya eSIM tanpa slot kartu SIM fisik.
Pengaturan eSIM di Google Pixel 7 dan sebagian besar model Pixel ada di Pengaturan > Jaringan & Internet > SIM > Tambah SIM. Di Android 15 (seri Pixel 9), buka Pengaturan > Jaringan & Internet > Internet, lalu ketuk ikon plus di sebelah SIM. Jika tidak ditemukan, ketik 'SIM' di bilah pencarian Pengaturan.
Anda bisa memasang eSIM HelloRoam di Google Pixel tanpa kode QR. Buka Pengaturan > Jaringan & Internet > SIM > Tambah SIM dan pilih masukkan kode aktivasi secara manual. Ketik alamat SM-DP+ dan kode aktivasi dari email HelloRoam Anda. Langkah pastinya sedikit berbeda tergantung versi Android, tapi opsi manual tersedia di semua model Pixel yang didukung.
Google Pixel 9, 9 Pro, dan 9 Pro XL mendukung dual eSIM, artinya dua profil eSIM berjalan bersamaan tanpa kartu SIM fisik. Ini cocok untuk pelancong Indonesia yang pergi ke Jepang atau Korea Selatan yang ingin tetap menggunakan nomor lokal sambil memakai paket data perjalanan. Pixel 8, 7, dan seri 6 mendukung satu eSIM plus satu SIM fisik. Kelola SIM di Pengaturan > Jaringan & Internet > SIM.
Ponsel Google Pixel mendukung transfer eSIM nirkabel selama pengaturan perangkat baru mulai dari Pixel 7. Ikuti panduan di layar saat menyiapkan Pixel baru untuk memindahkan profil dari perangkat lama. eSIM HelloRoam terikat ke perangkat asli dan tidak bisa dipindahkan setelah dipasang, jadi jika transfer nirkabel gagal, hubungi dukungan HelloRoam dan tim akan menerbitkan kode QR baru rata-rata dalam 2 jam.
Anda bisa memeriksa dukungan eSIM di Pixel dengan membuka Pengaturan > Jaringan & Internet > Jaringan Seluler dan mencari opsi eSIM atau SIM. Pixel 9 mendukung eSIM di semua operator. Anda juga bisa mencari nomor model Pixel Anda di situs dukungan Google untuk memastikan kompatibilitas sebelum membeli paket.
Destinasi eSIM Populer
Kami selalu ada saat Anda butuh.